Wednesday, July 26, 2006

Here's What's Blooming, Jac

Jac mentioned that I haven't posted any pictures of flowers in my garden for awhile. Although it is true that we have been suffering with a drought which has in turn been keeping things reserving their energy, I have had a few lovely things blooming which I thought that I would share.


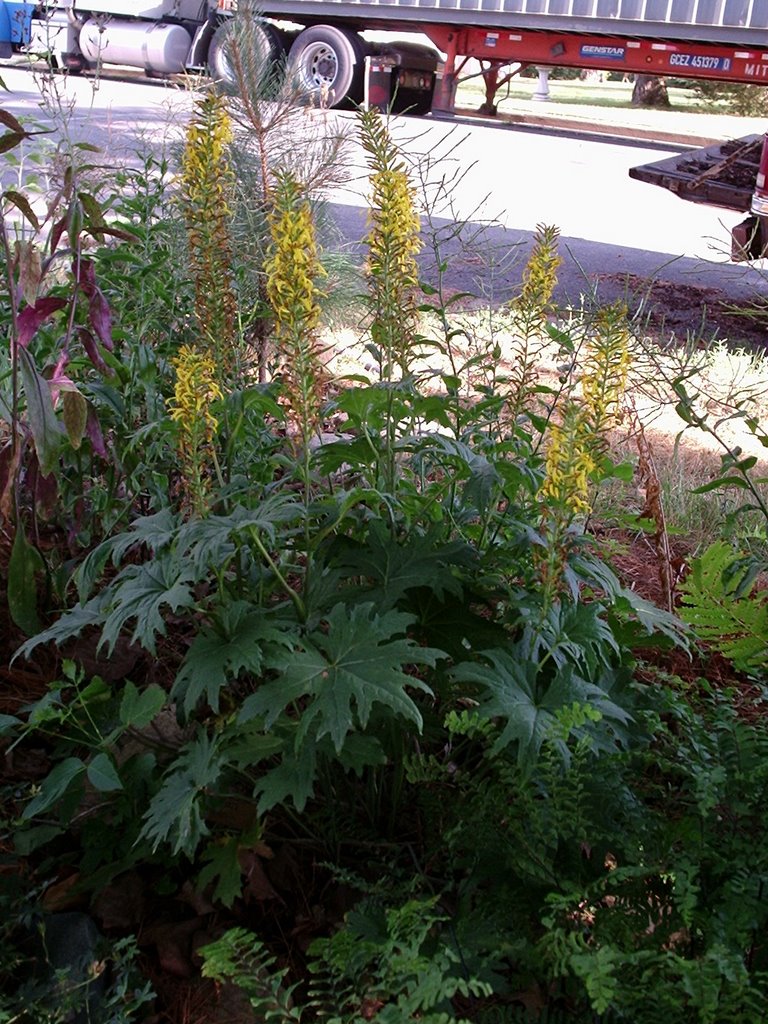
This is Shavakski's ligularia (Ligularia prezwalskii). I love ligularia and highly recommend it for fantastic foliage and interesting flowers.


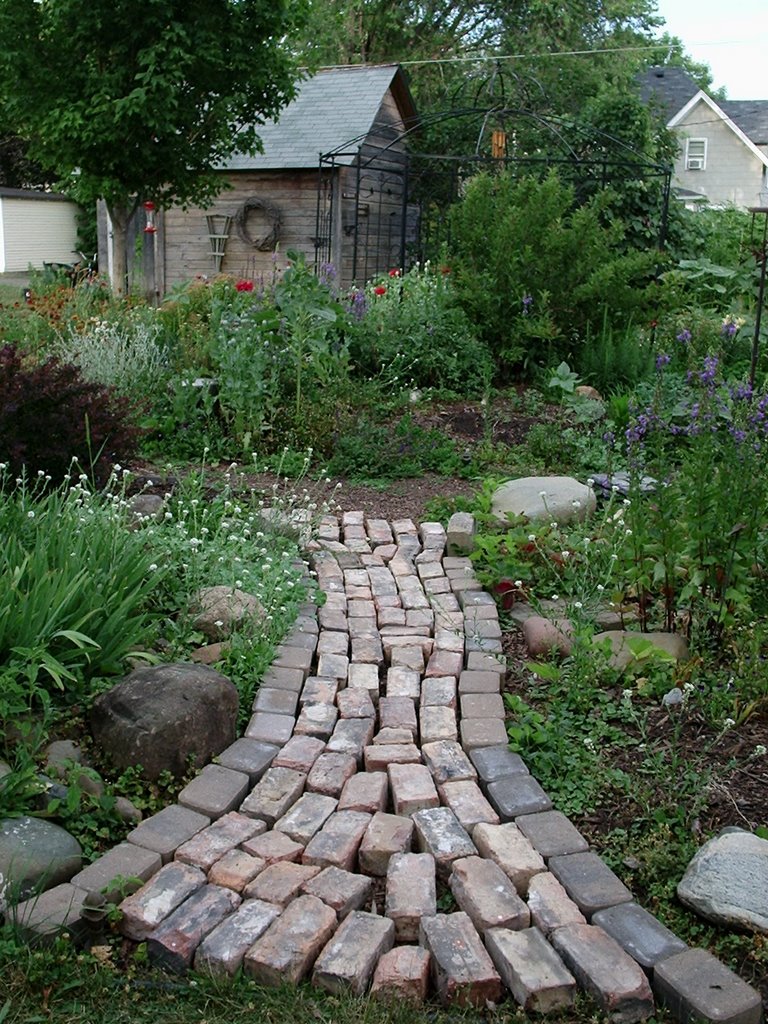
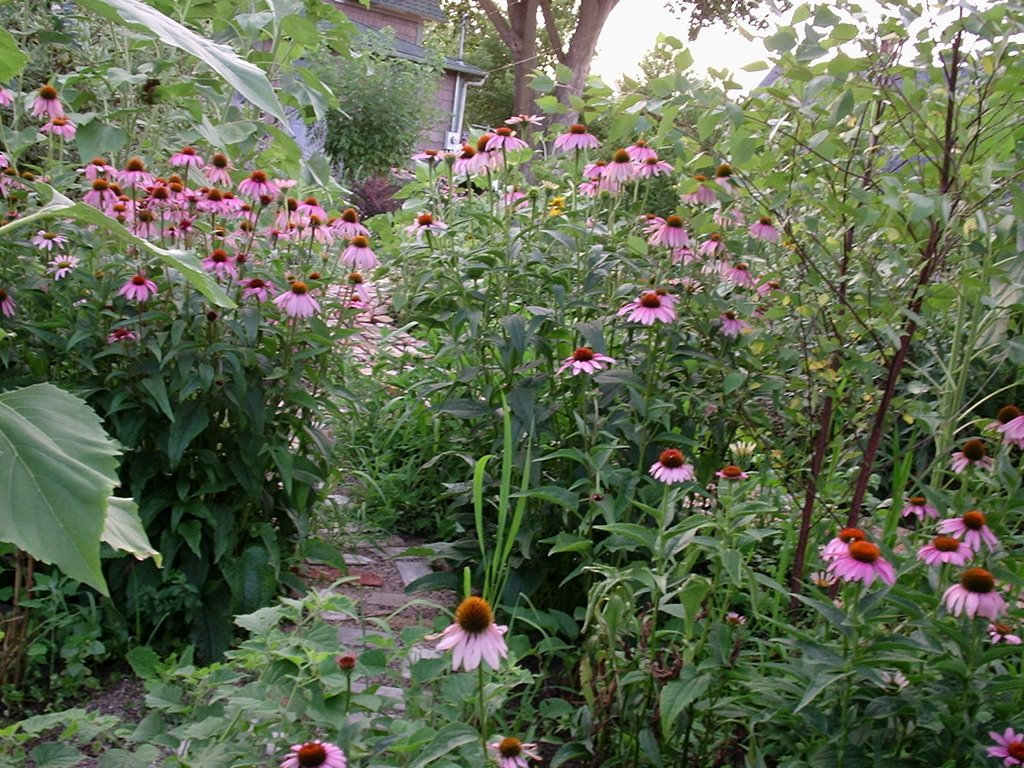
Here is my ever multiplying echinacea lining a brick path that I had put in earlier this year with bricks found at the compost site. The city was digging up a huge pile of fill that had been dumped there by rude construction crews, but I managed to pull out all the brick I could find first.


I only have one Stargazer lily. I have tried to grow more but haven't had any luck so far. These are beautiful lilies, but the scent is a HUGE selling point too! This one lily gives off such a heady scent, you'd swear there was a whole bed of them!


These are my mutant echinacea. They have much bigger centers and petals than the others, and the petals stay horizontal like daisies. And the plant itself is HUGE! I didn't buy this plant either; It just showed up. I love volunteers!


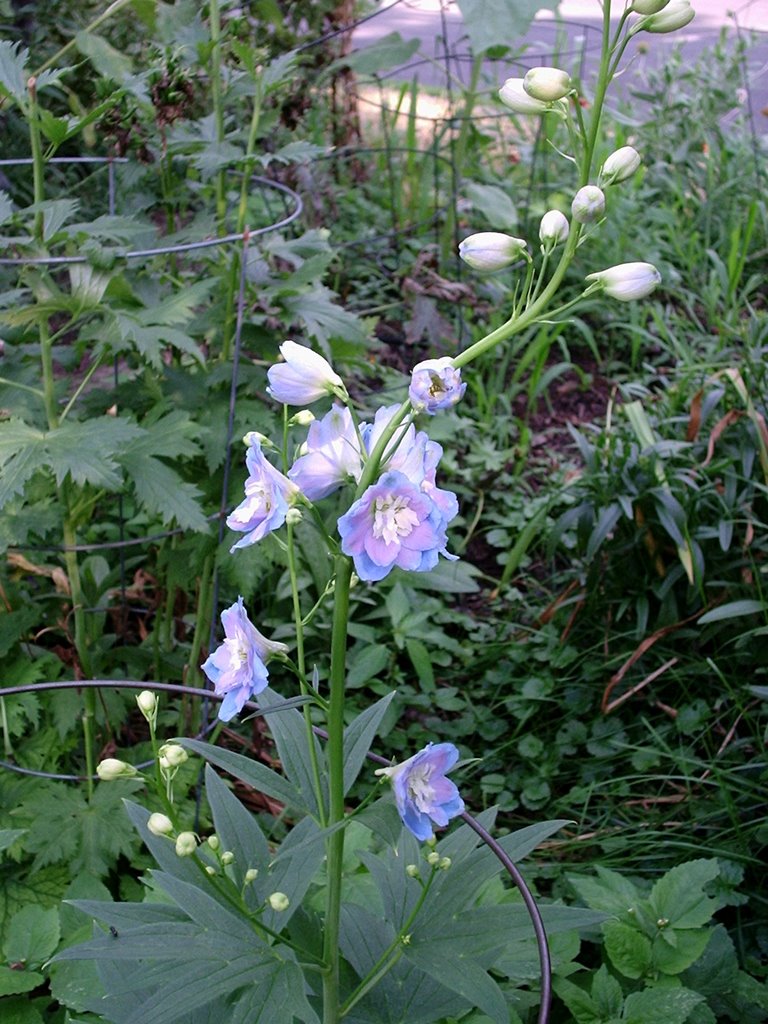
This is one of my newer delphinium. I forgot to get the name for this one before I posted. Oops! I grow mostly Pacific Giants and Magic Fountain delphinium. They do the best for me.
I always thought that delphinium look like fairies fluttering around. Aren't they lovely?

Sunday, July 23, 2006

Like a Ton of Bricks

We finally got the very last of the brick today. What you see here is besides the amount that we already have in the main garden paths (which I am currently working on setting in a bed of sand).
It is a lot of brick!


But I have BIG plans for it!

Saturday, July 22, 2006

Garden Goodie Bonanza

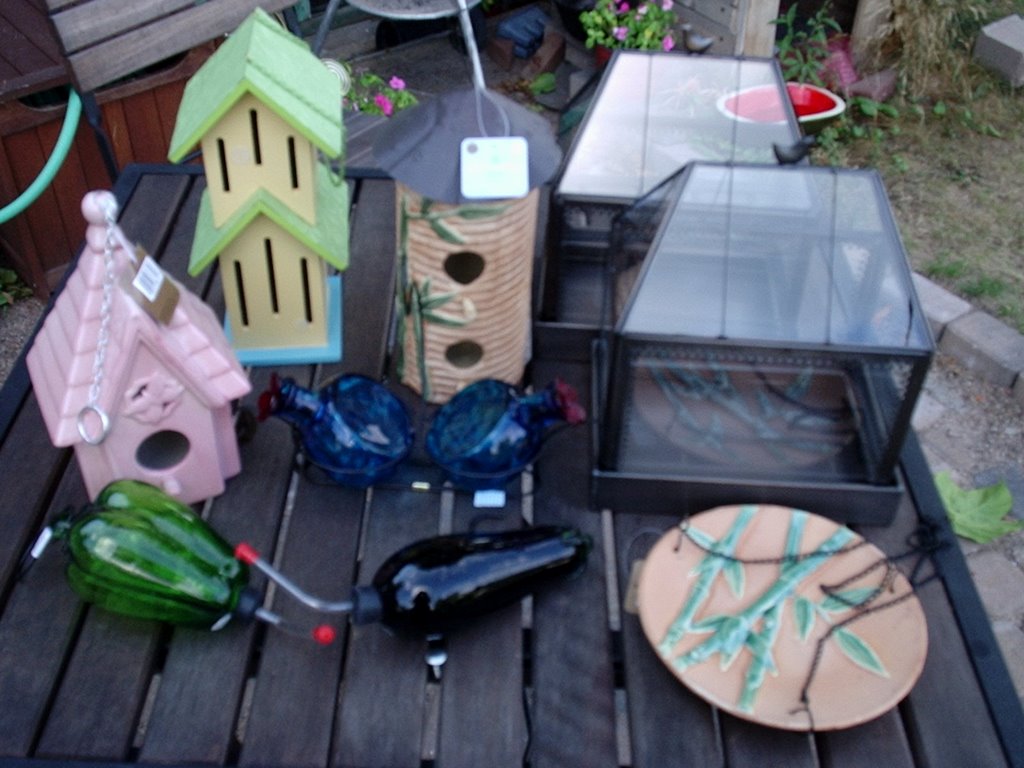
I had a great garden shopping day yesterday even though I really didn't mean to go shopping for garden stuff. I went into JoAnn's for a couple yards of fabric and came out with a cart load of garden stuff. Take a look:

All of this cost me a mere $42. This was originally $210 worth of stuff, but it was 80% off. So I really feel like I made out like a bandit with this haul.

But it didn't stop there. The next store we went to was strictly to buy a bag of chocolates for the HR person that wanted to hire me desperately, but I had to decline (so I was sending her a thank you note and some really good chocolates). Once we got in there, we found this:


We have been wanting a nice cast iron log rack for a while but they were a bit too expensive, but at $40 how could we pass it up?

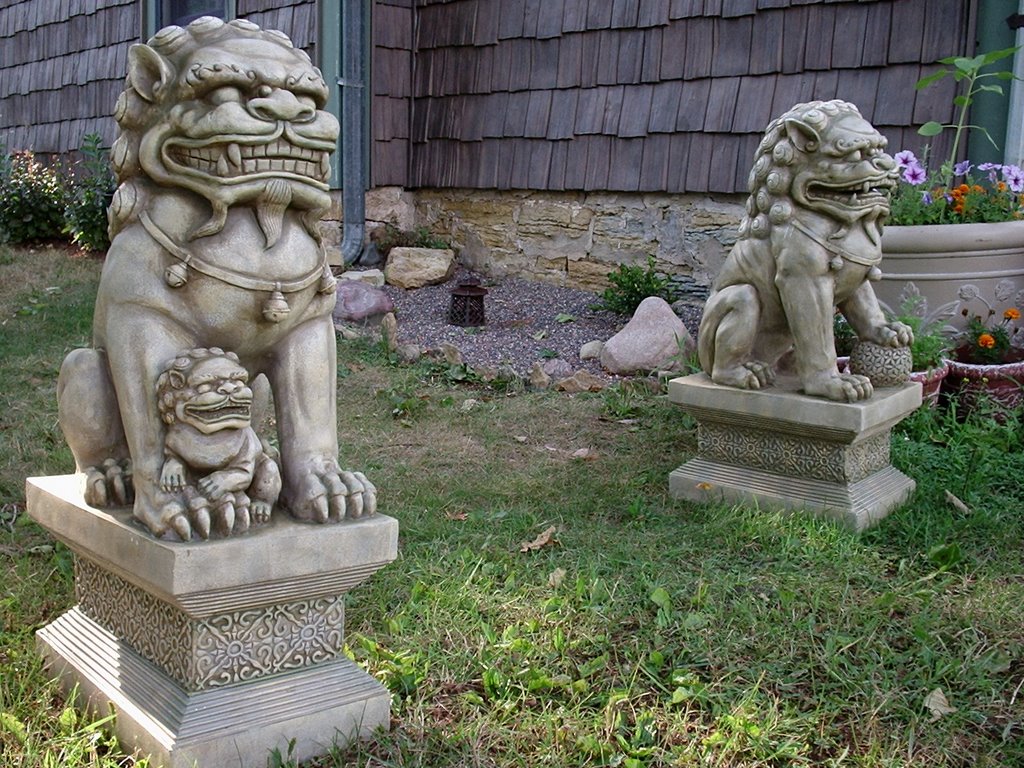
And SSB and I were really happy when earlier this week we went to Target and found that the lion sculptures that we have been drooling over all summer finally were at 50% off. We had to have them for SSB's Japanese inspired garden.


This last one was a gift from my dad. He brought it all the way from California for me to thank me for helping him with his website for his reunion.


Isn't it adorable? My dad has a pretty good idea of what I like. This was PERFECT!!!

Thursday, July 20, 2006

Piña Colada Kabobas

It didn't rain as much as I had hoped, but it did manage to cool things down a bit, so I decided to grill out.

My friend made kabobs for us when we visited her last weekend. I thought that would be a good thing to try myself, as we often get good deals on boneless skinless chicken breast, but it can grill up kind of tough and dry.

And sure enough, the very next time that we went grocery shopping after having the kabobs, there was a sale.

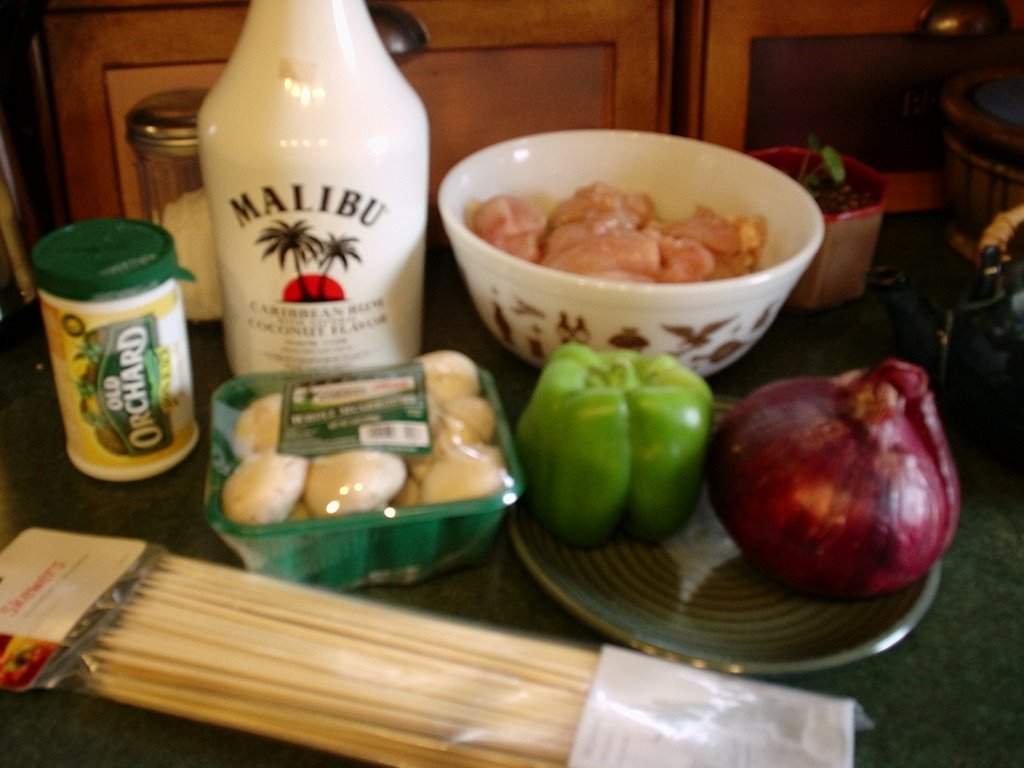
I was planning on doing the Marmarumalade marinade but, alas, the Captain was on vacation. But I did have a half bottle of Malibu (stop that snickering - it's good stuff!) so I decided to do a Piña Colada marinade.

Really simple:
  1. get a large bowl
  2. cut the chicken into skewerable pieces and place in the bowl
  3. pour the Malibu in until the chicken is covered half way
  4. pour thawed pineapple juice concentrate in until the chicken is covered
  5. let marinade for 20-30 minutes, stirring every so often


  6. skewer the chicken and selected veggies


  7. and then grill!


We did one package of chicken in the Piña Colada marinade and one package in an Asian pepper sauce marinade. The Piña Colada Kabobas were great hot, but weren't quite as good once they cooled off. The Asian Pepper Kabobs were good either hot or cooled. I think that the Piña Colada Kabobas could be better with a little tweaking - like maybe coating with grated coconut, using a little brown or demerara sugar, or adding a little cayenne pepper to the marinade.

Wednesday, July 19, 2006

What Is This Moist Stuff Coming From The Sky?

Could it be Rain?

I thought that was a myth. A fairy tale legend.

It has been so long since it has rained that I actually almost forgot what it was like. I did a rain ritual last night, and by-golly IT WORKED!

But it was supposed to rain LAST NIGHT! Not TODAY!! I have no car TODAY. I have to walk every where I am going TODAY. I have a massage appointment TODAY. And most of all, I have the big library interview TODAY!!!

Those of you who visit my personal blog know about The Interview. I have been wanting a permanent job at the library that I work at forever! I have a fair chance at it, and now I will be coming into the interview looking like a drowned rat.

Oh well, they already know me well enough. I have worked here for 5 years after all. If they can't over look a little water-logging, well Pltttttt!!!!

We are suppose to get up to 3", so goodbye tomatoes. I have only been watering ocassionally, so I'm afraid with all this rain, every last one of them is going to split. I wished that I could have set the bricks because this would have been the perfect rain to really get them set tight.

I have had to do emergency watering almost everyday for over a month, so I will take this rain gladly even with the inconveniences that it will bring.

Sunday, July 09, 2006

Brick Pathway Overhead

To get the rest of the bricks for these pathways I had to tear down a chimney. The first three rows of bricks really got me double-thinking how badly I wanted those bricks, but then after that, they came down much easier. I even rather enjoyed myself! My husband was able to help some of the time and my son even helped a little too!

We got enough over the weekend to complete our pathways. And I just found out today that we can have the rest of the brick which is the amount that we have in the pathways over again! Now you can all say - LUCKY!!

Friday, July 07, 2006

I'm One of Those People Now

I have watched a lot of gardening shows over the years and there is a show every weekend that features some beautiful work involving found pieces. And at least once a month there is a show that involves something built using old brick. When asked where they got the bricks the homeowners inevitably recount a tale of passing by an old building being torn down or knowing someone tearing down a building. They go to the site, pull the bricks out of the rubble, and carefully chip off the mortar to clean them up.

I even KNOW someone that this happened to. Her friend who lived about an hour and half away told her about an old factory that was being torn down nearby where the friend lived. My friend picked up a couple loads of bricks. She bordered her flower beds with them. Some of them had a stamp on them that said "Dunn Company". It turns out that a company that used to be less than five miles from her house had made the bricks. The company is no longer around, but it's bricks have come home.

And I always thought to myself, "Luckies! Why can't I find an old building being torn down and drag home a load of beautiful old bricks.

And now I AM one of those people!! My neighbor's parents just built a brand new house and were tearing down their old one - really OLD one. The fireplace was made out of solid clay bricks, and I got some!


Here I have part of a load laid out in a garden pathway to get a feel for how they will look.

BEAUTIFUL!!

And there are still plenty of bricks to be had. That's what I will be doing all weekend. hauling bricks and helping with the rest of the building clean up. It will be well worth the effort!

Wednesday, July 05, 2006

The Patio

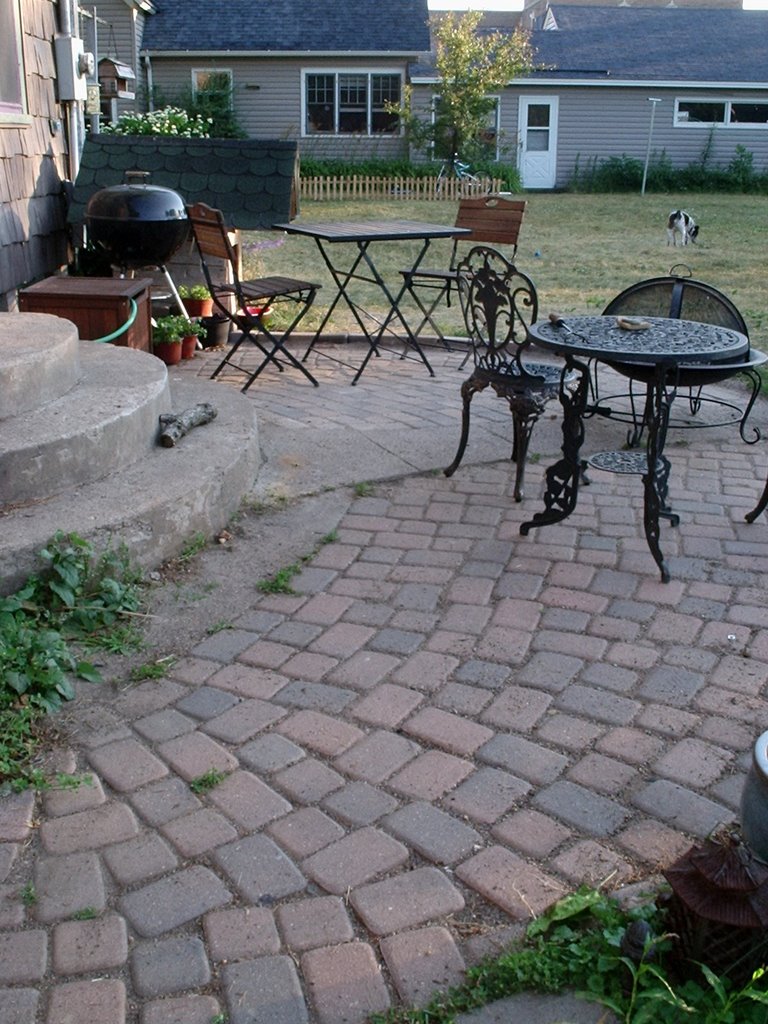
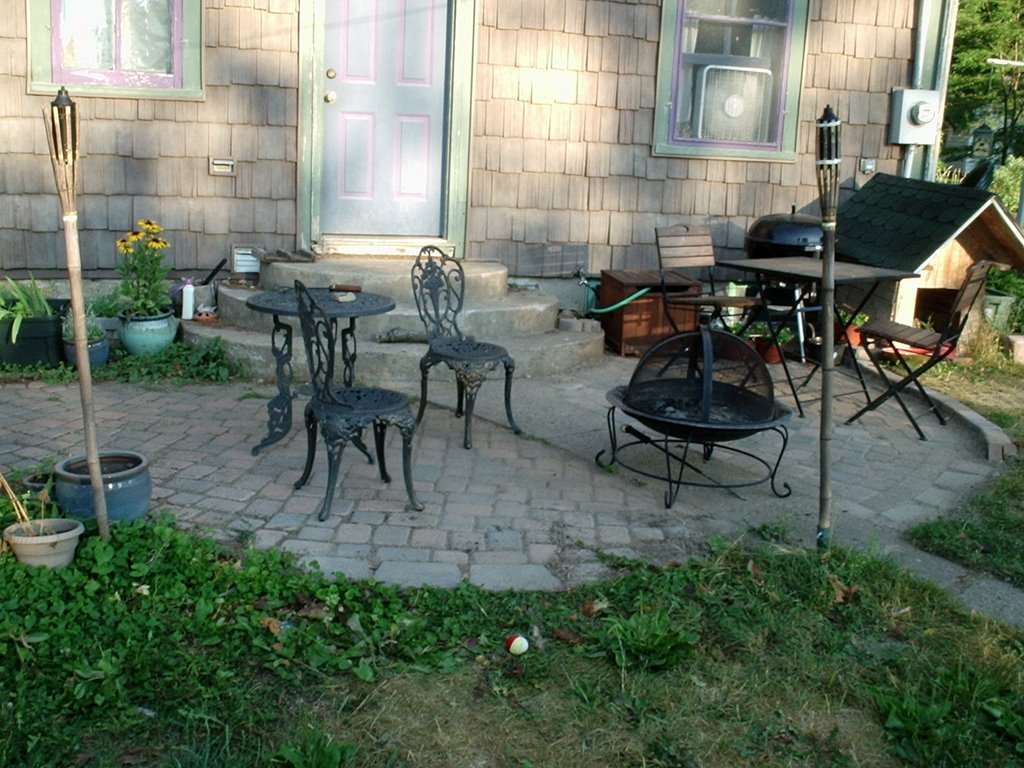
The year that we moved into our house I decided that I wanted to put in a patio. I was so excited about the idea that I started to dig a hole for it before I even bought any patio materials. That hole sat there unfulfilled for five years. Three years ago I finally finished one half of the patio, and it wasn't even the half that I had started! (Go figure. I'm weird like that.) I lived with that hole in the other side for another three years... until this last weekend when my husband and I finally dug in and got it done.

We went to get the blocks and retainers for the project and were met with what we should be used to by now - "Oh, those were discontinued and we just sold out of the last of our stock a couple weeks ago."

I was worried that we would have to pull up the whole patio and start over with another style. But the girl at Menards said that there might be another store that still had them. She called around and sure enough Red Wing still had quite a few in stock.

So we ran down to Red Wing. And BONUS! since they were discontinued, they were also about half the price that I had originally paid for them. They weren't exactly the same color as the ones that I had originally put in, but they were close enough that most people would never notice; and if it really bothered me, I could always pull up a few from the one side and mix them in with the other to even out the color difference. I opted to save that for if it REALLY bothered me later.
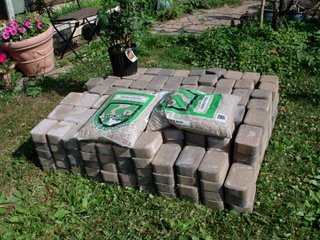

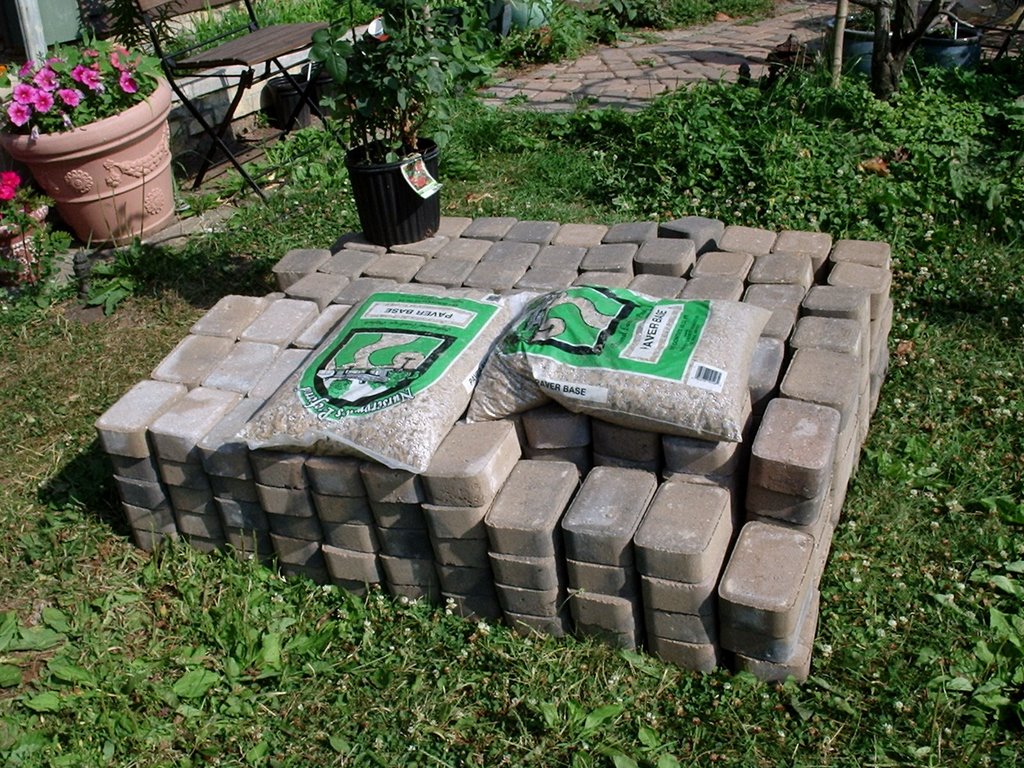
Here is the booty in all its glory.


Here is my husband digging in our rock-hard dirt. We had to use a mason hammer to get through some of this it was so compacted!
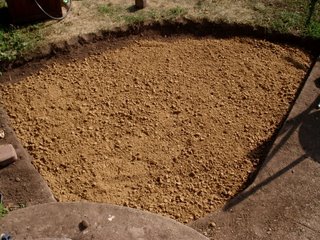

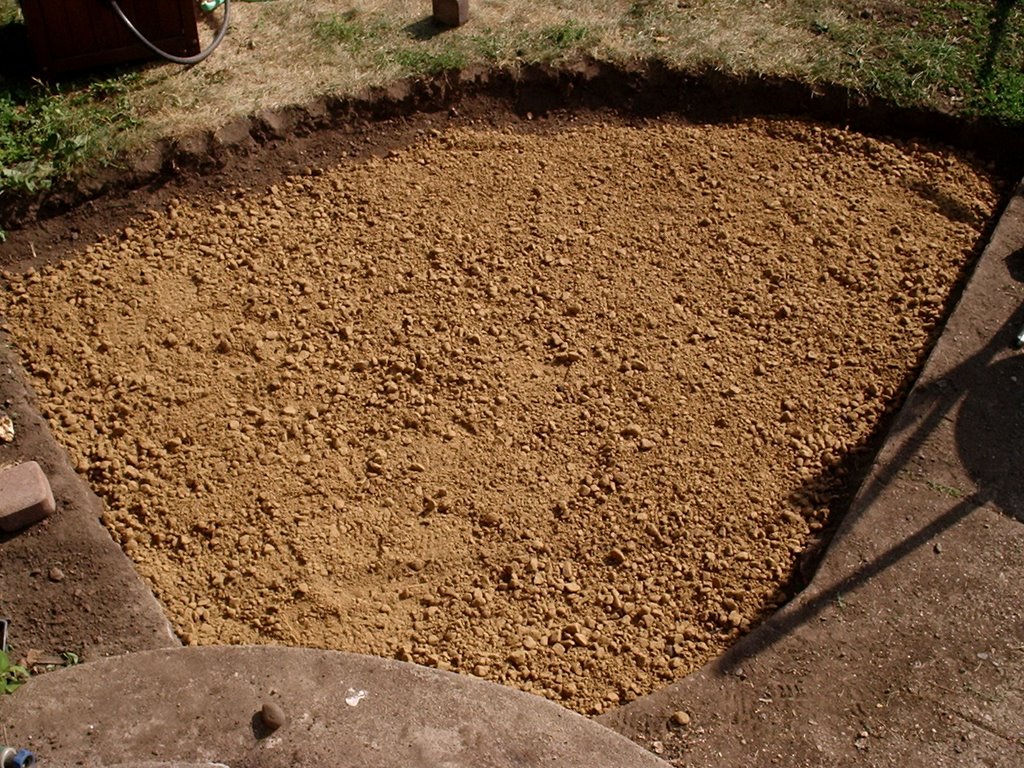
Here is the hole all completed with the paver base in and compacted. Well, as compacted as I was going to get it. It was HOT!! 90 and humid - YUCK!
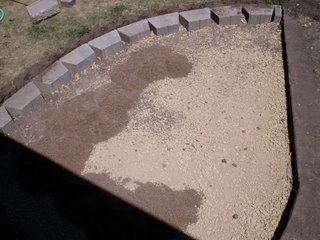

We used retaining blocks to hold the shape of the patio. Yes, the ones that we had used for the first half had also been discontinued, so we ended up getting the closest ones that we could find. Not the best, but they work.
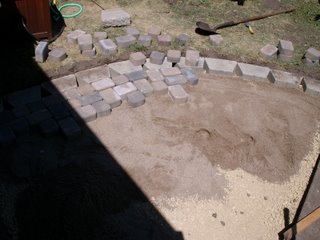

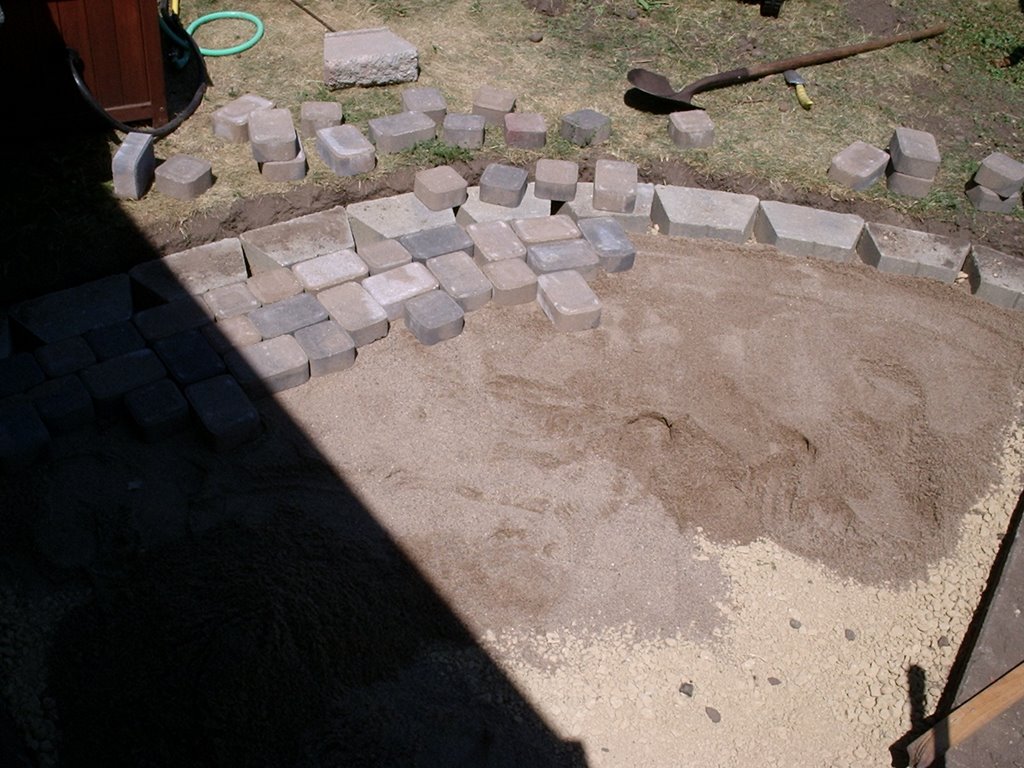
Here I have spread out the sand base and have started to lay out the blocks. The paver base was supposed to be 4-6 inches deep and the sand 3-4 inches deep, but I used 2 inches of paver base and 1 inch of sand. That's how I did the other half and it worked just fine for my liking. And we have some really bad freeze and thaw here, so we know that it will be just fine through anything. You are supposed to spread the sand, screed it flat, and then lay the bricks; but I am a little too impatient for that, so I just eye-balled it. When you are done laying them in, you can fill the area with water to see where things need to be leveled - that's how I did my brick walkways.


Here is the finished product. I also do not cut any blocks, so I just configure the pattern in such a way that I do not need to. It might be a little to unstructured for some, but I like the way it looks like really old cobblestone.
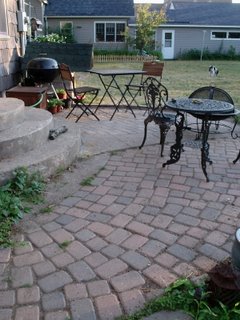

Here's a shot of the whole patio - we decided that we will call the first half (the one in the foreground) Patio A, and the new half (the one in the background) Patio B.
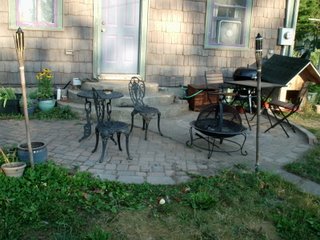

Here's another shot of the whole patio. Lovely isn't it? We left the side walk in the middle and I think it looks just fine. Now we have plenty of room for friendly gatherings for grilling and firepitting.
I'M SO EXCITED!! :))
Friday, June 30, 2006

June Overhead

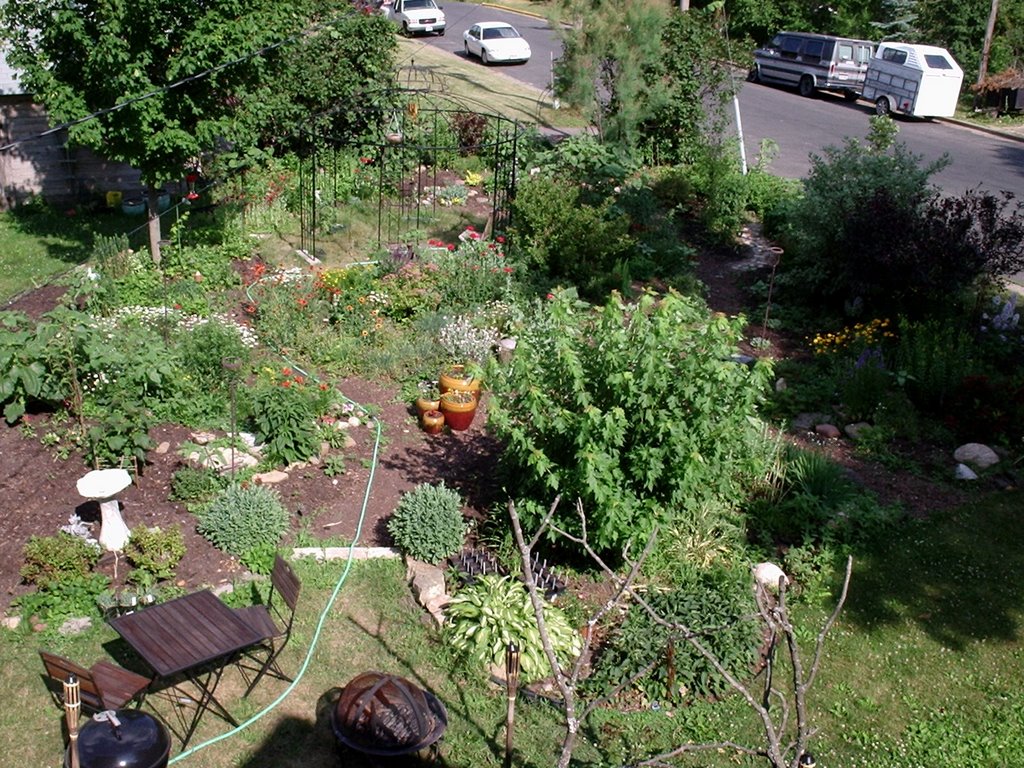
I like to take overhead pictures of my garden to get a sense of the over-all layout of the garden. Sometimes looking at the garden from above is the only way to see patterns that are there or should be there, problem areas and what to do about them, and generally how everything looks at once. I see barespots that need to be filled and a tree that needs to be replaced, but I am mostly happy with what I am seeing. Although it doesn't look as neat and trim as it did last year, I like the more casual, cottagey look.


Here's a nice clear picture with the garden hose. Oops!


And here is a not so clear picture without the garden hose.

Monday, June 26, 2006

More Pictures


Here are the mystery lilies from last year. I found a tag that said that they were called "Ivory Pixies". I love the moonlight color.


Here are my "Plum Crazy" hibiscus. They are doing FABULOUS this year. I'm hoping that they will be as long lived as the hibiscus that the Agriculture department has on campus. I love the huge, ruffly flowers of this one. It is by far my favorite of all the hibiscus that I have tried to grow. I got a little lazy with the plant corral this year, but I still like the way that this looks.


Ah! My beautiful delphiniums! I will always have delphiniums. I find that they are fairly easy for me to grow and they are just so lovely. I have discovered that they are greedy eaters, so you do need to add nutrients to the soil more often than with other plants, but I think that it is well worth it. I also discovered this year that aphids love them. A little sevin dust took care of those pests. Normally I don't like to use pesticides, but squishing them was too hard to do without also damaging the plants.


This is the same berm that was featured in the last post; this picture is just shot from a different side. This berm was a real problem last year because it was lacking in plant material, but this year it is my most scenic area.


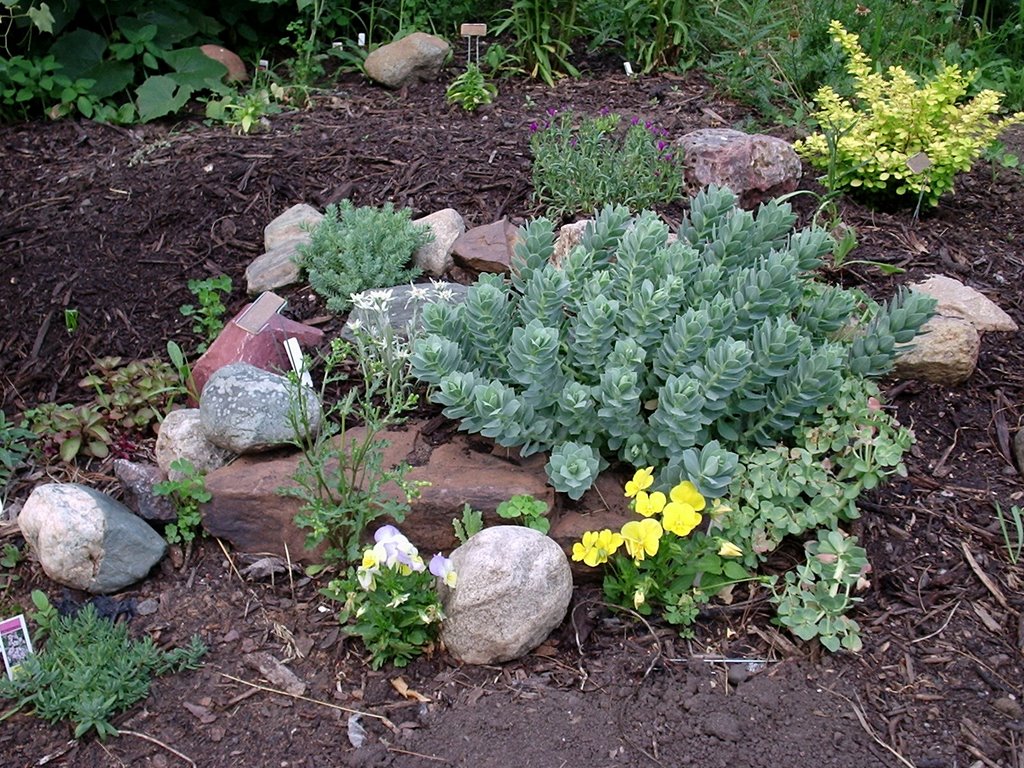
And here is my tiny rock garden. It has doubled in size from last year. I still have about three feet on three sides that can be added, so there will be more pictures of the progress this summer.